Everyone Says, “Strengthen Your Core!” But What Does That Actually Mean?

You must hear this all the time. From doctors, trainers, internet fitness gurus—and yes, probably even from me.
It sounds like an excellent idea. But why?
In my opinion, strengthening your core is vital because the core is the literal “center” of our bodies. Assuming we’re fortunate enough to still be attached to it, it’s involved in almost every movement we make.
That said, instead of talking about a strong core, I prefer the term well-functioning core. A well-functioning core is the essential foundation for a well-functioning body.
“Okay, so where do I start?”
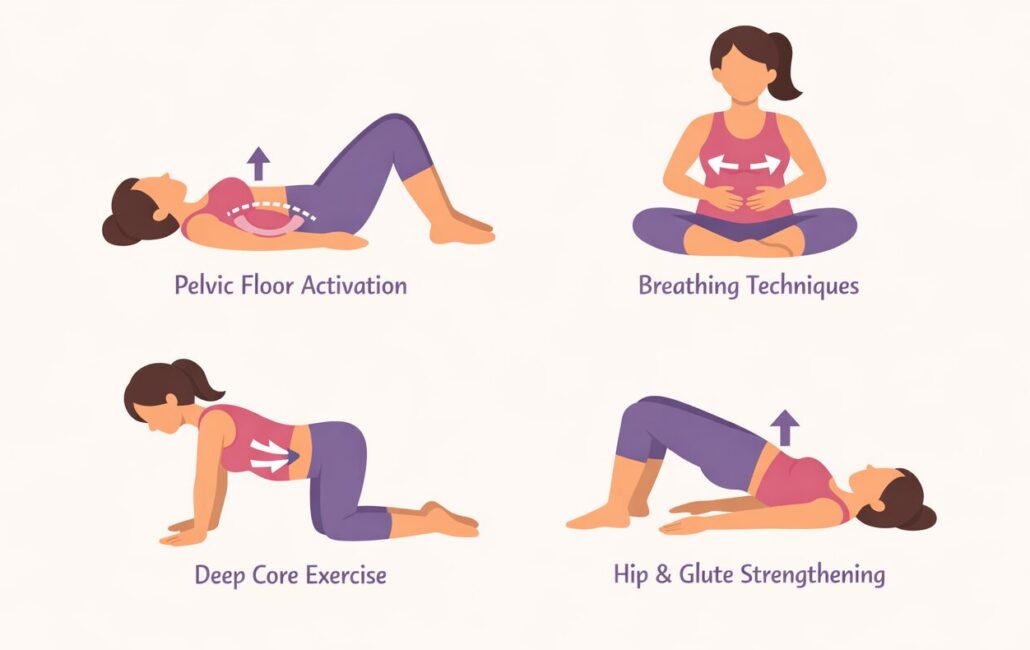
You might think, “I’ll just do a bunch of planks and crunches.” Or better yet, “I’ll take a Pilates class!”
Those are all fantastic options.
You could also hop online, search “core exercises,” or even ask AI to design a workout. You’ll find an endless number of routines. If a generic internet program is all you need to feel great, that’s fantastic—I genuinely wish you the best on your fitness journey.
However, many people set out to strengthen their core because they’re dealing with pain, recovering from an injury, or working toward a very specific physical goal. That’s where generic workouts often fall short, and where we need to start asking better questions.
Over fifteen years as a practicing physiotherapist and certified clinical Pilates, my years before that as a kinesiologist, and—perhaps most importantly—living in my own body have taught me one major truth: Finding the right answers starts with asking the right questions.
Identifying Your “Why”
To get the most out of your training without wasting time, you first need to understand why you want to target your core.
Most goals tend to fall into a few categories:
- Relieving back pain
- Improving posture
- Boosting sports performance
- Vanity (hey, no judgment!
 )
)
Before jumping into a random routine, ask yourself three questions:
- Do you currently have irritable symptoms, such as active back pain?
- What is your primary, specific goal?
- How much time and effort can you realistically dedicate to this?
A Quick Warning About Pain and Injury
If you’re currently dealing with pain, generic core workouts can sometimes do more harm than good. To strengthen a muscle, you need to challenge its weakness. But if that weakness is already irritated, challenging it the wrong way may simply increase your symptoms.
When working with clients, I always come back to three guiding principles:
“The more irritable a symptom is, the more perfect your movement technique has to be.”
“We all have a technique limit and an absolute limit—and the gap between them is different for everyone.”
“Success comes from understanding where your limits are, so you can challenge yourself without crossing into injury.”
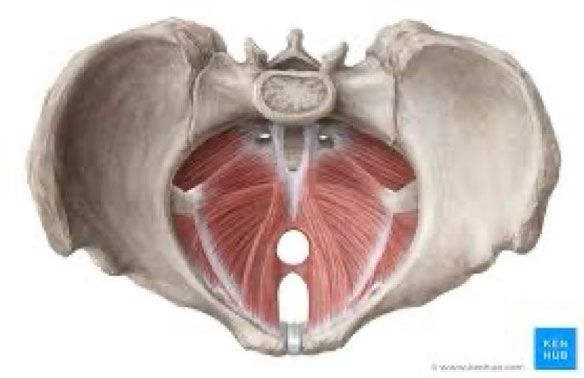
What Does the Core Actually Do?
If you’re not dealing with an injury and simply want a stronger body, it helps to understand what your core actually does.
Functionally, your core has two jobs.
It needs to provide a stable base for your arms and legs to generate movement from. At the same time, it also needs enough mobility to let you twist, bend, reach, and move freely.
A well-functioning core is both strong and mobile.
Sometimes it needs to be completely rigid. Other times it has to flex, rotate, and adapt. Real life is a constant shift between those two demands.
Because most of us have limited time, energy, and resources, understanding whether you need to emphasize stability or controlled mobility can help you get far more out of your workouts. Ideally, your routine should include at least a little of both.
The Takeaway
“Strengthen your core” sounds like simple advice, but the body is wonderfully complex.
For the best results, don’t just aim for a stronger core, aim for a better-functioning one by training both stability and controlled mobility.
The internet (and yes, AI!) can be a great place to start. But if you’re dealing with persistent pain, recovering from an injury, or trying to solve a specific physical problem, I’d strongly recommend seeing a qualified professional.
We can help identify your individual limitations, determine what your body actually needs, and build a plan that helps you move better and stay moving.
By Jonathan Poon
Physiotherapist
Treloar Physiotherapy Kerrisdale